Test and measure gap and flush with innovative Inline Metrology from inos
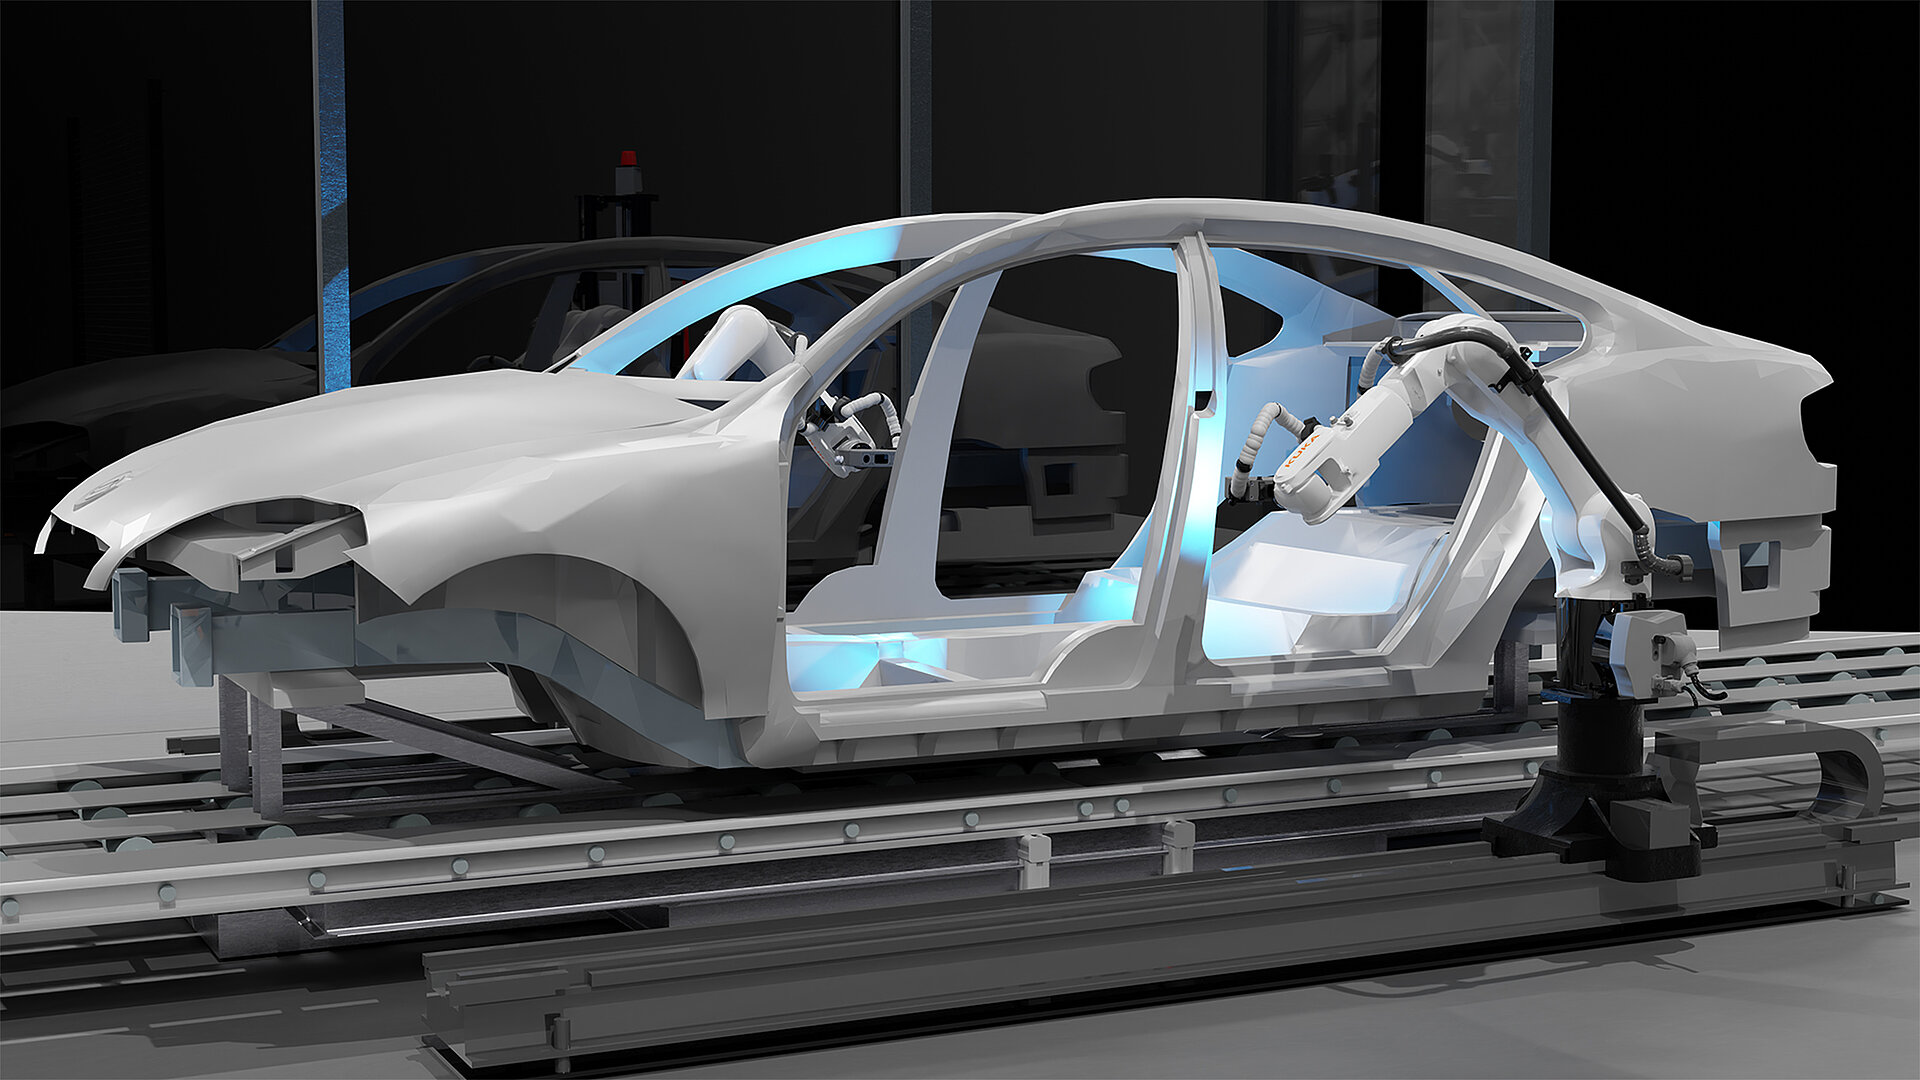
From body construction to final assembly
Checking the accuracy of components’ fit in the end product plays a major role in quality control. Deviations in appearance and functionality have an immediate impact on the product’s safety and the end user’s satisfaction. In mechanical gap measurement, however, not all relevant measuring points can be captured. Cycle time and the measuring device used to limit the testing of gap and flush.
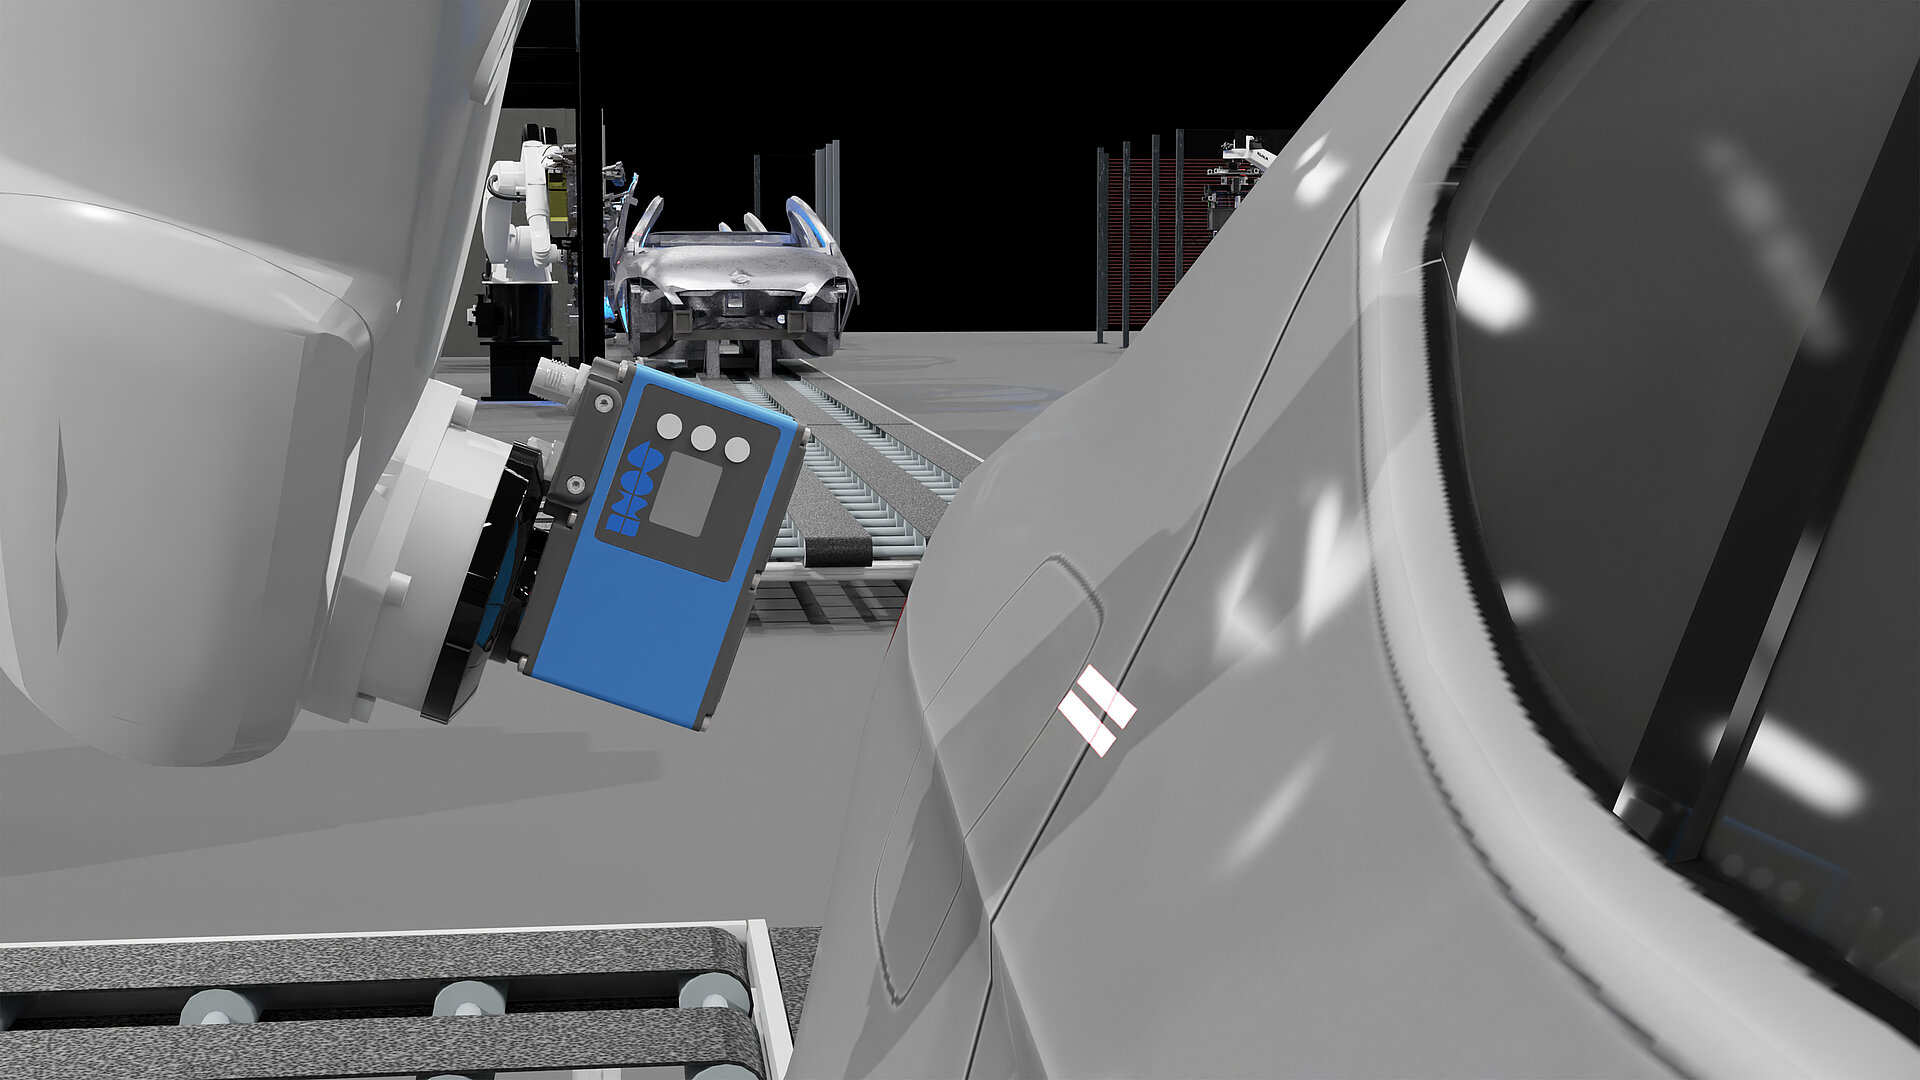
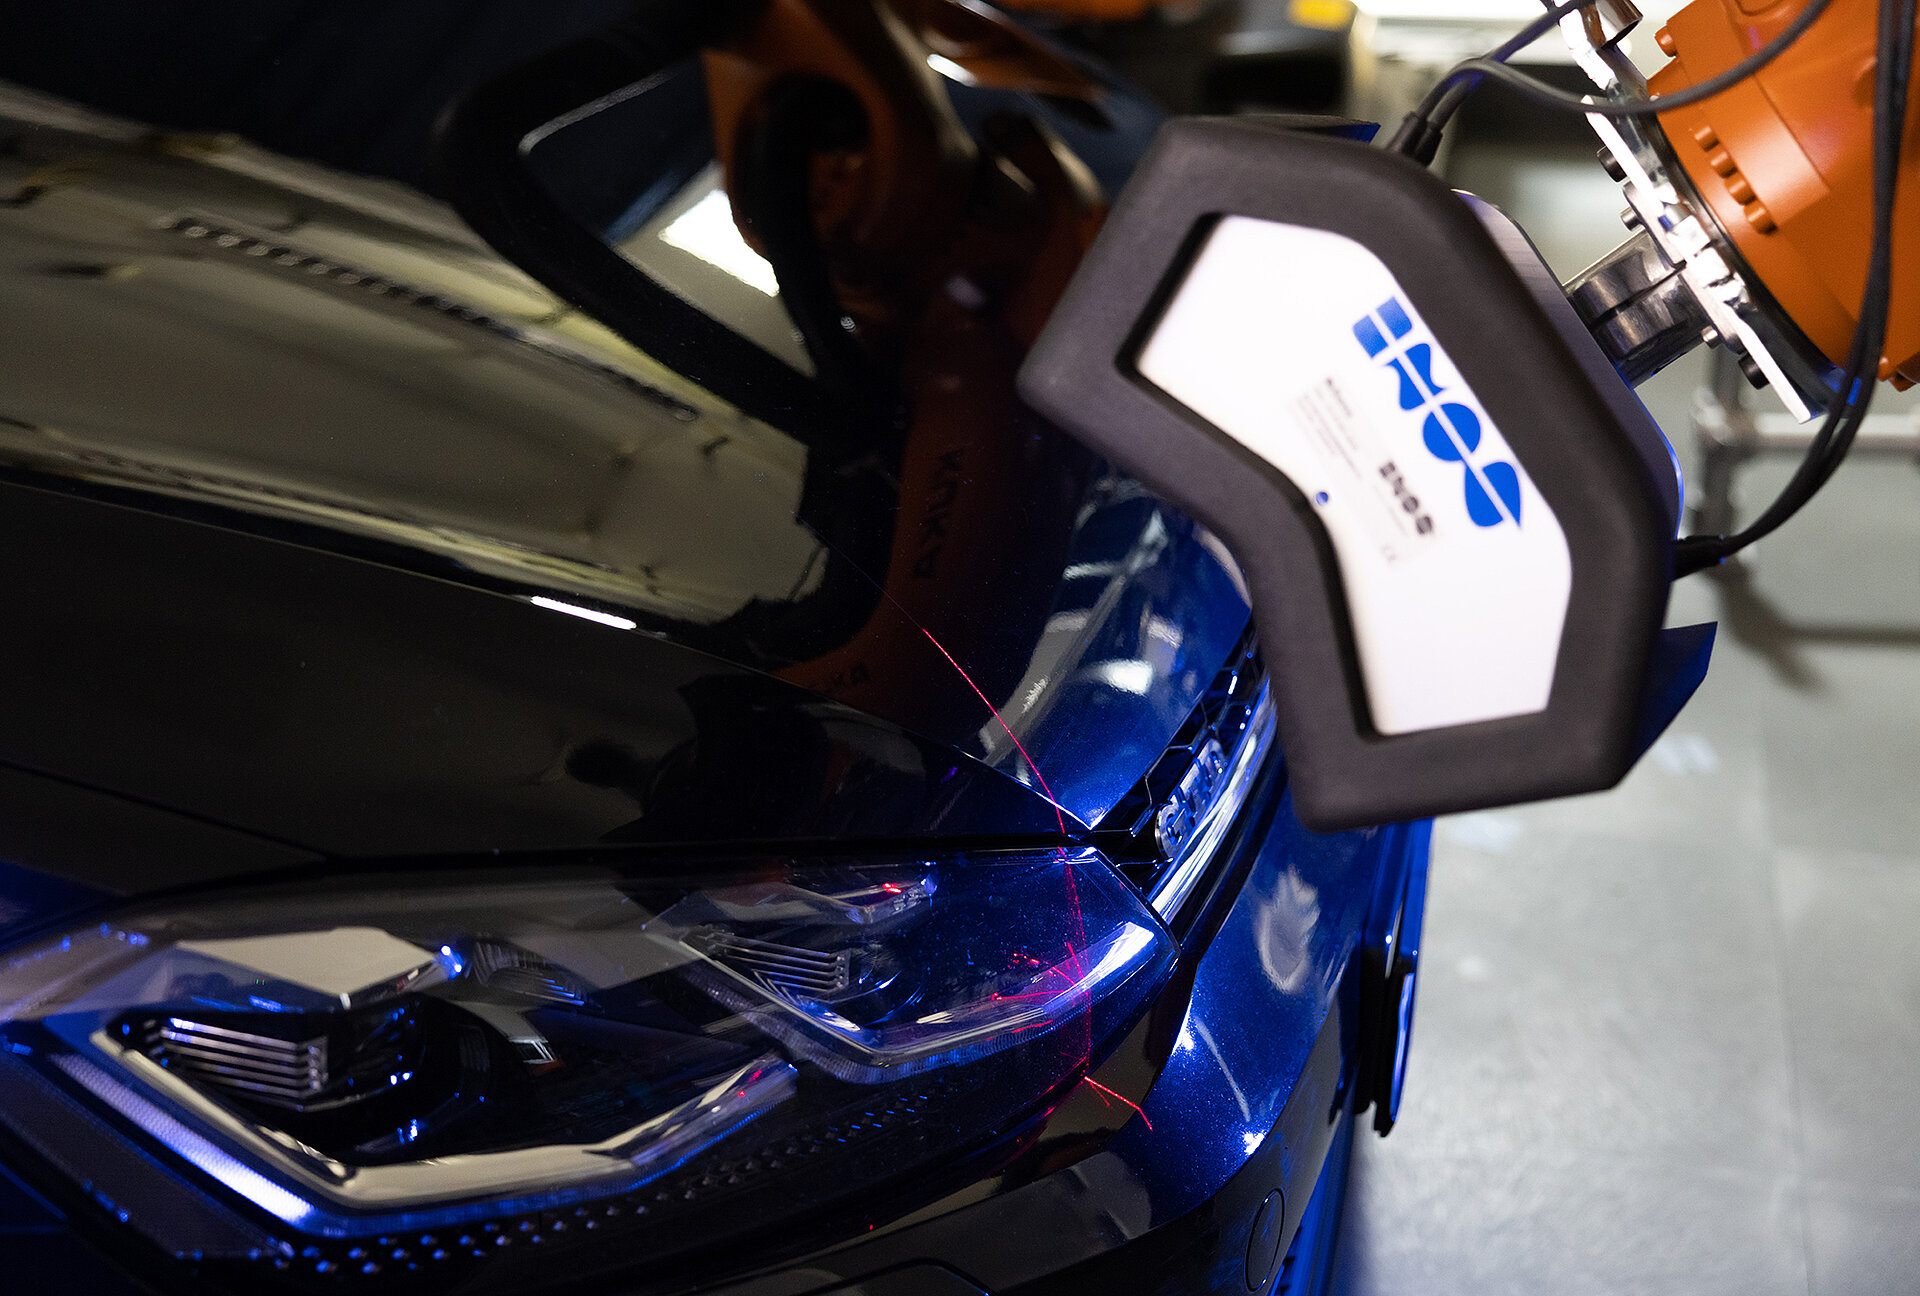
The intelligent gap and flush measurement from inos solves these challenges. Complex geometries, 24/7 operation, complete documentation, acquisition of 25 to 30 measuring points and millimeter-precise measurement ± 0.2 mm – inos’ efficient 3D sensors measure gap and flush on all surfaces in less than 500 milliseconds, with flow or clocked production lines. The measuring process always remains flexible and adapts automatically to changed measuring conditions. With inos industrial gap measurement, you can handle your processes faster, safer and more efficiently.
inos’ gap and flush measurement algorithms offer the greatest flexibility on the market. With our algorithms, a wide range of challenging materials and geometries can be measured accurately and precisely. The same is true of our high-quality 3D sensors, which are always adapted to each customer’s situation. Thus, you receive anything from basic laser triangulation sensors up to high-end sensors with UV lasers to enable that your assembly is as efficient and economical as possible.
Advantages of gap and flush measurement
Benefit in many ways
Higher quality
Due to the automated measurement of gap and flush, inos enables the complete inspection and documentation of measurement characteristics – 24/7, 365 days a year. As a full-service provider, inos consistently analyses your assembly process and minimizes manual interventions, for your satisfaction and that of your customers.
Greater transparency
Extensive visualization, analysis and reporting options make the assembly process transparent. This allows the system to be put into operation more quickly. The maintenance personnel can immediately see where straightening work still needs to be carried out.
Higher economic efficiency
The use of our visionary inline measurement technology reduces your assembly process’s cycle time, increases throughput and therefore pays for itself within a few months. The gap and flush measurements are made without stopping the conveyor system, so you can benefit from the advantages immediately.
Greater flexibility
inos’ gap and flush measurement can be used in both cycle mode and throughput mode. Whether with unpainted or colored components, the intelligent sensor technology adapts flexibly to the conditions. This means that you always remain agile and can react immediately to changing requirements.
Different systems, one clear quality target
STATIONARY. ROBOT-GUIDED. HYBRID.
Complete solution from a single source
Do you want to automate, adapt or renew your assembly? Are you looking for a complete solution from a single source? Then you’ve come to the right place!
From software to hardware, such as robots and lasers – we’ll give you a construction kit with numerous possibilities, whether modular or single-source. We find the best combination for our customers – always tailored to your wishes and optimally integrated into your overall process.
Do you want to adapt your production to Industry 4.0 and integrate vision in your processes? Contact us for your consultation.
Gap measurement in practice
Cross-industry
Quality and functionality must be correct from the start, because only then can the best possible quality be delivered to the end customer.
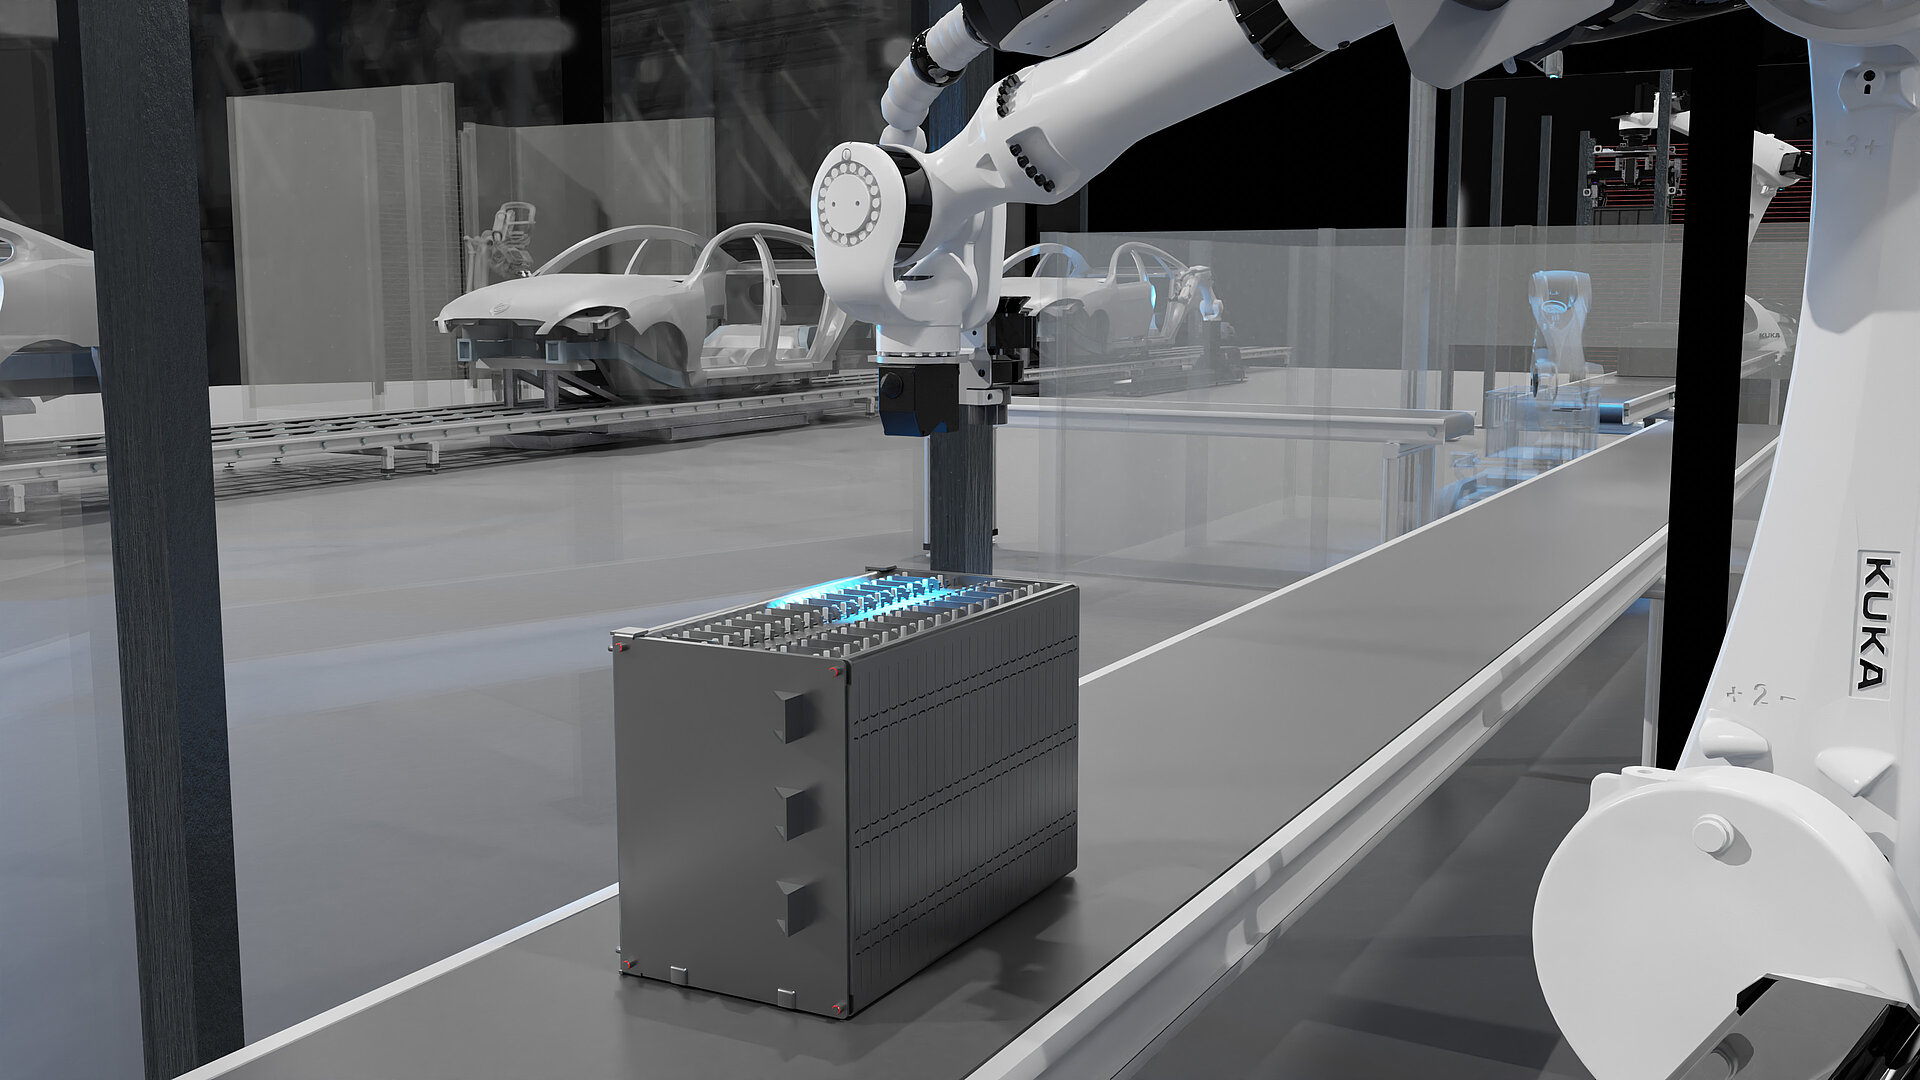
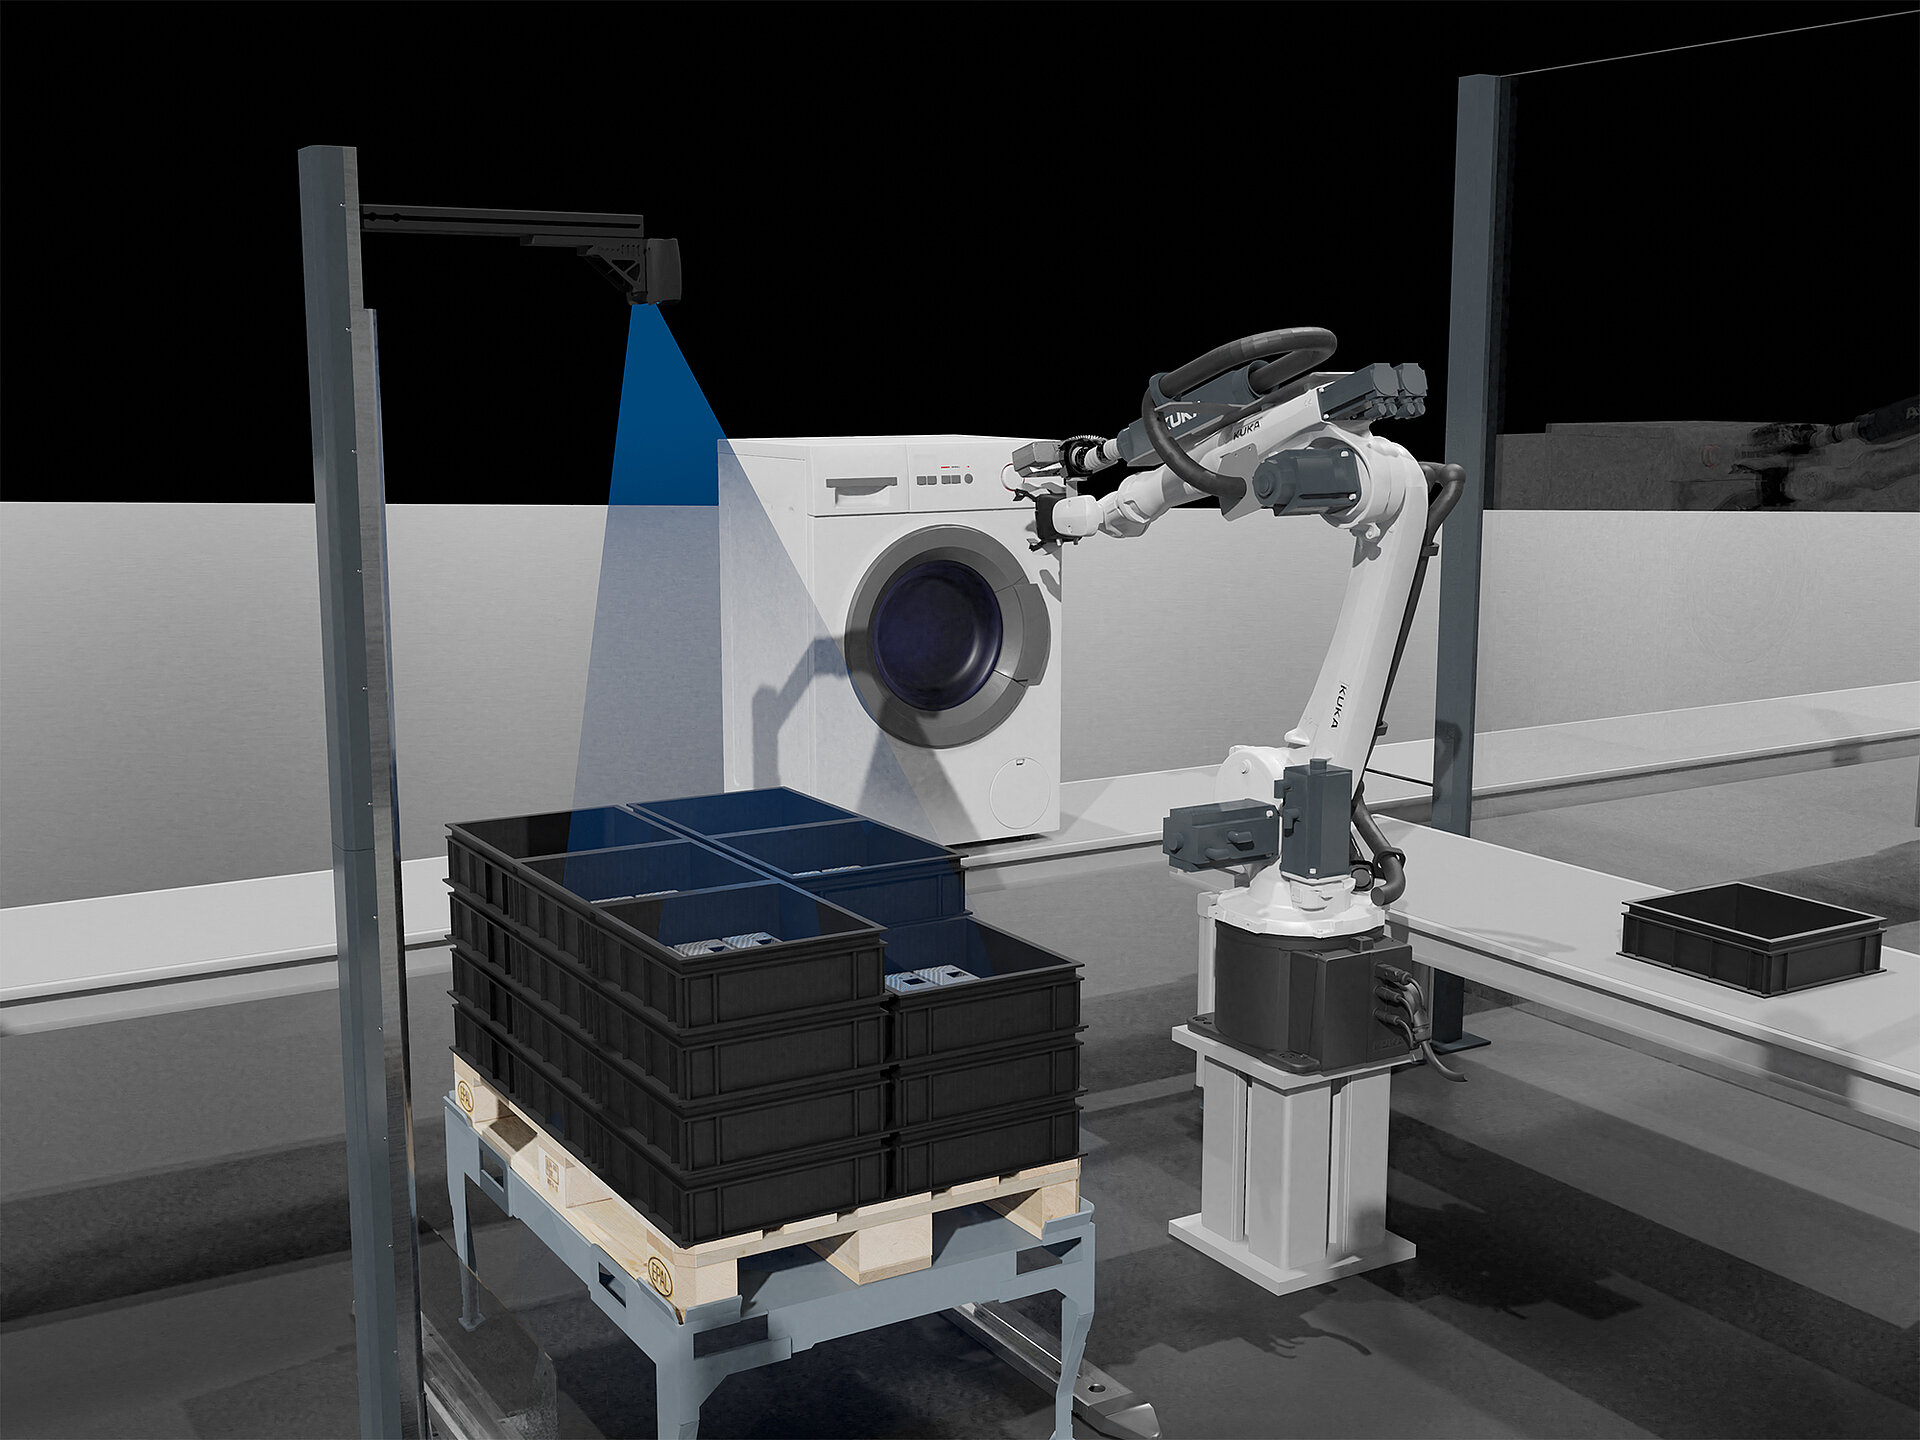
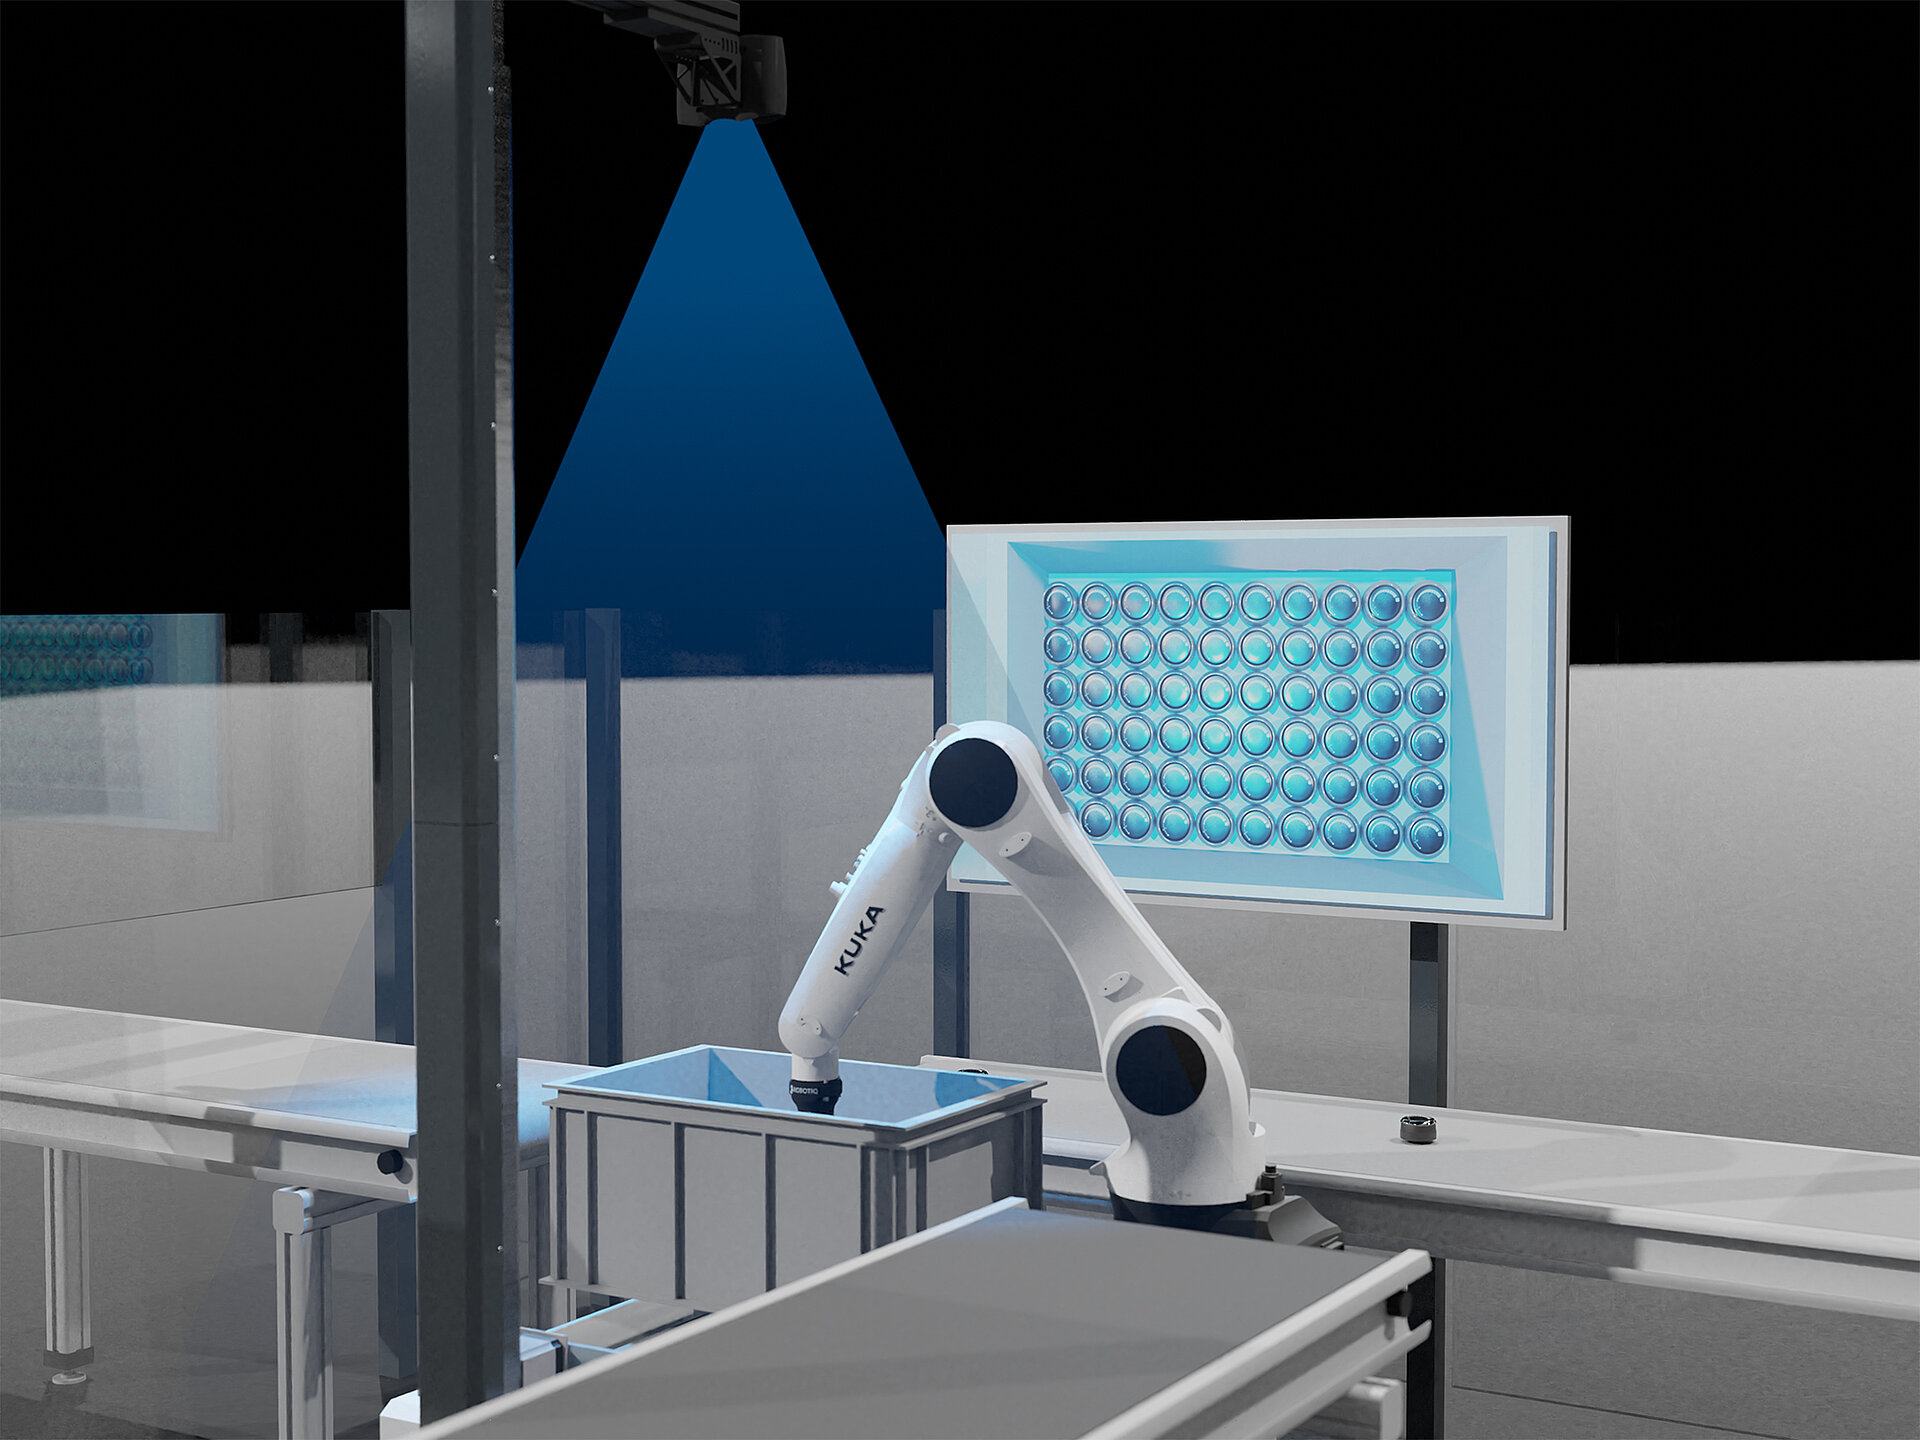
Efficient, simple, process-reliable quality measurement and testing play a major role in numerous industries. As a result, inos’ smart turnkey solutions are used across all industries for
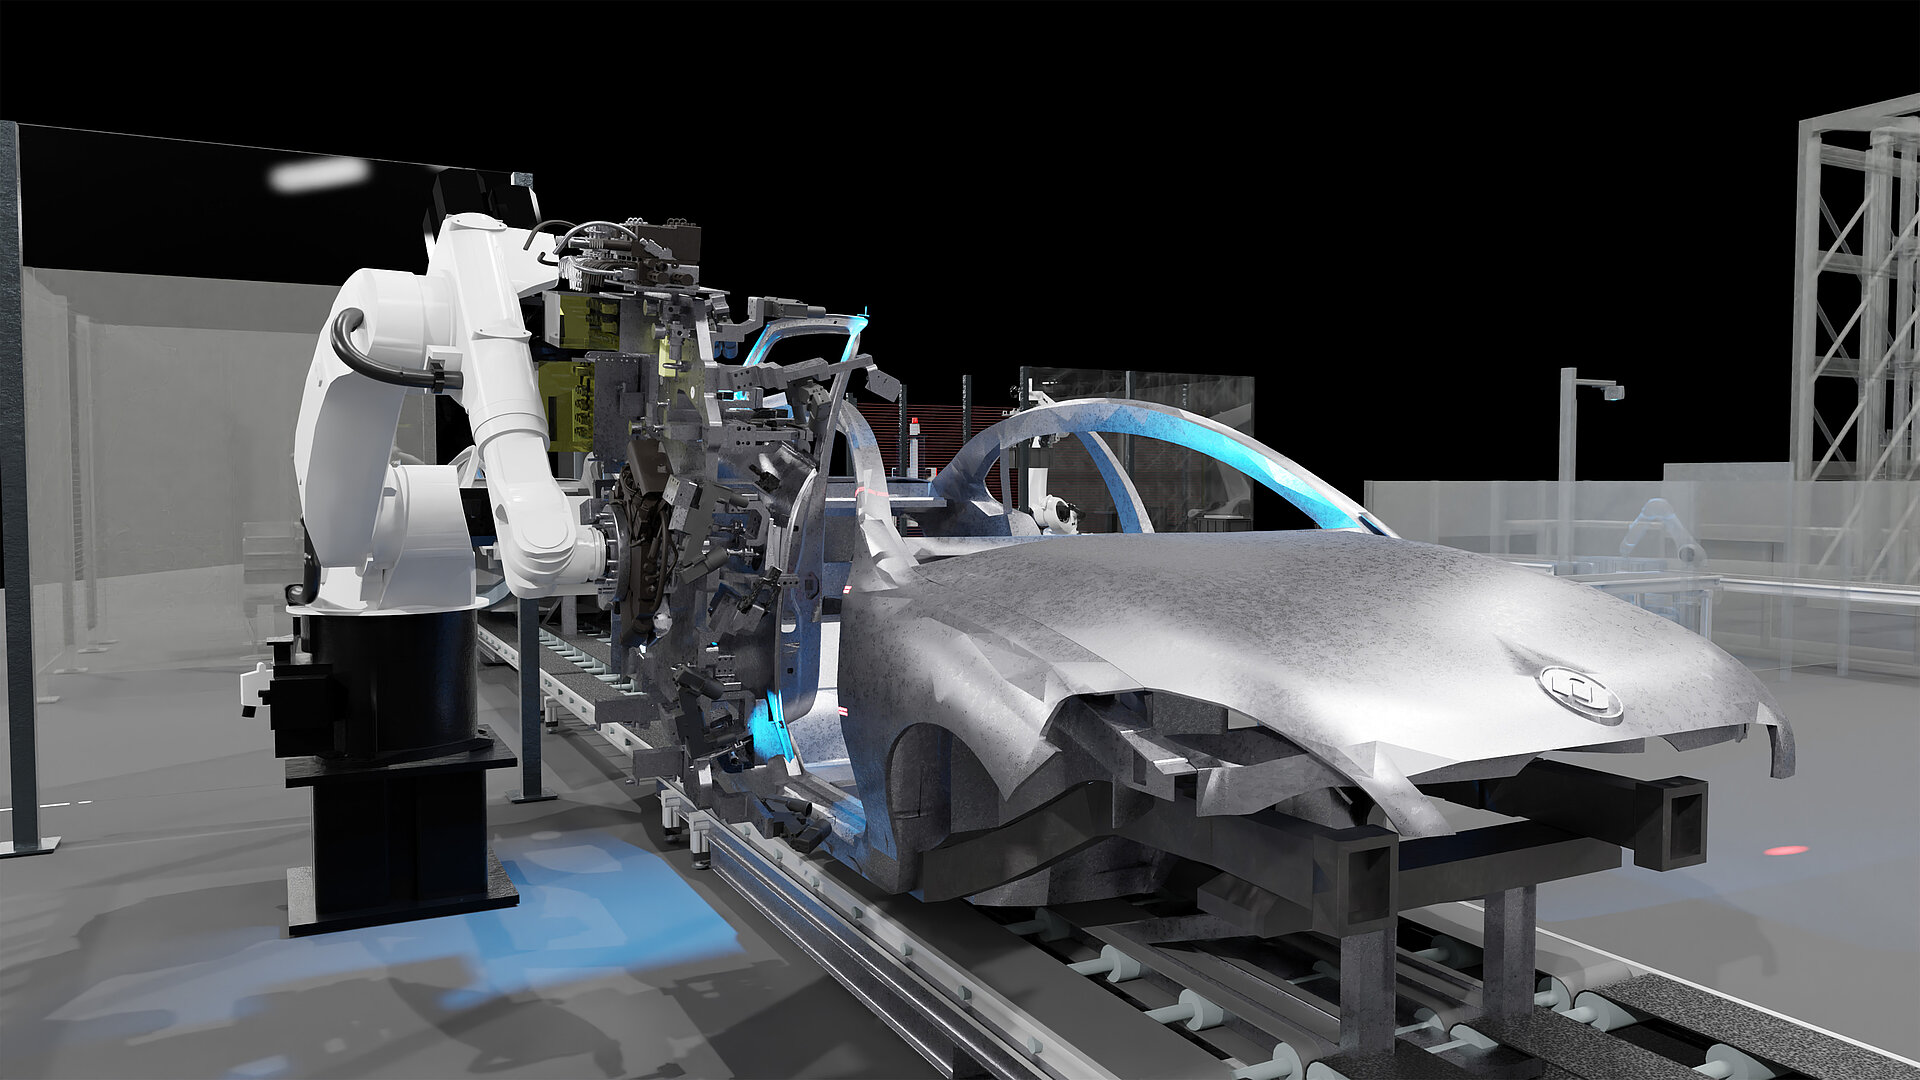
- Attachments in car body engineering
- Finished vehicles in final assembly
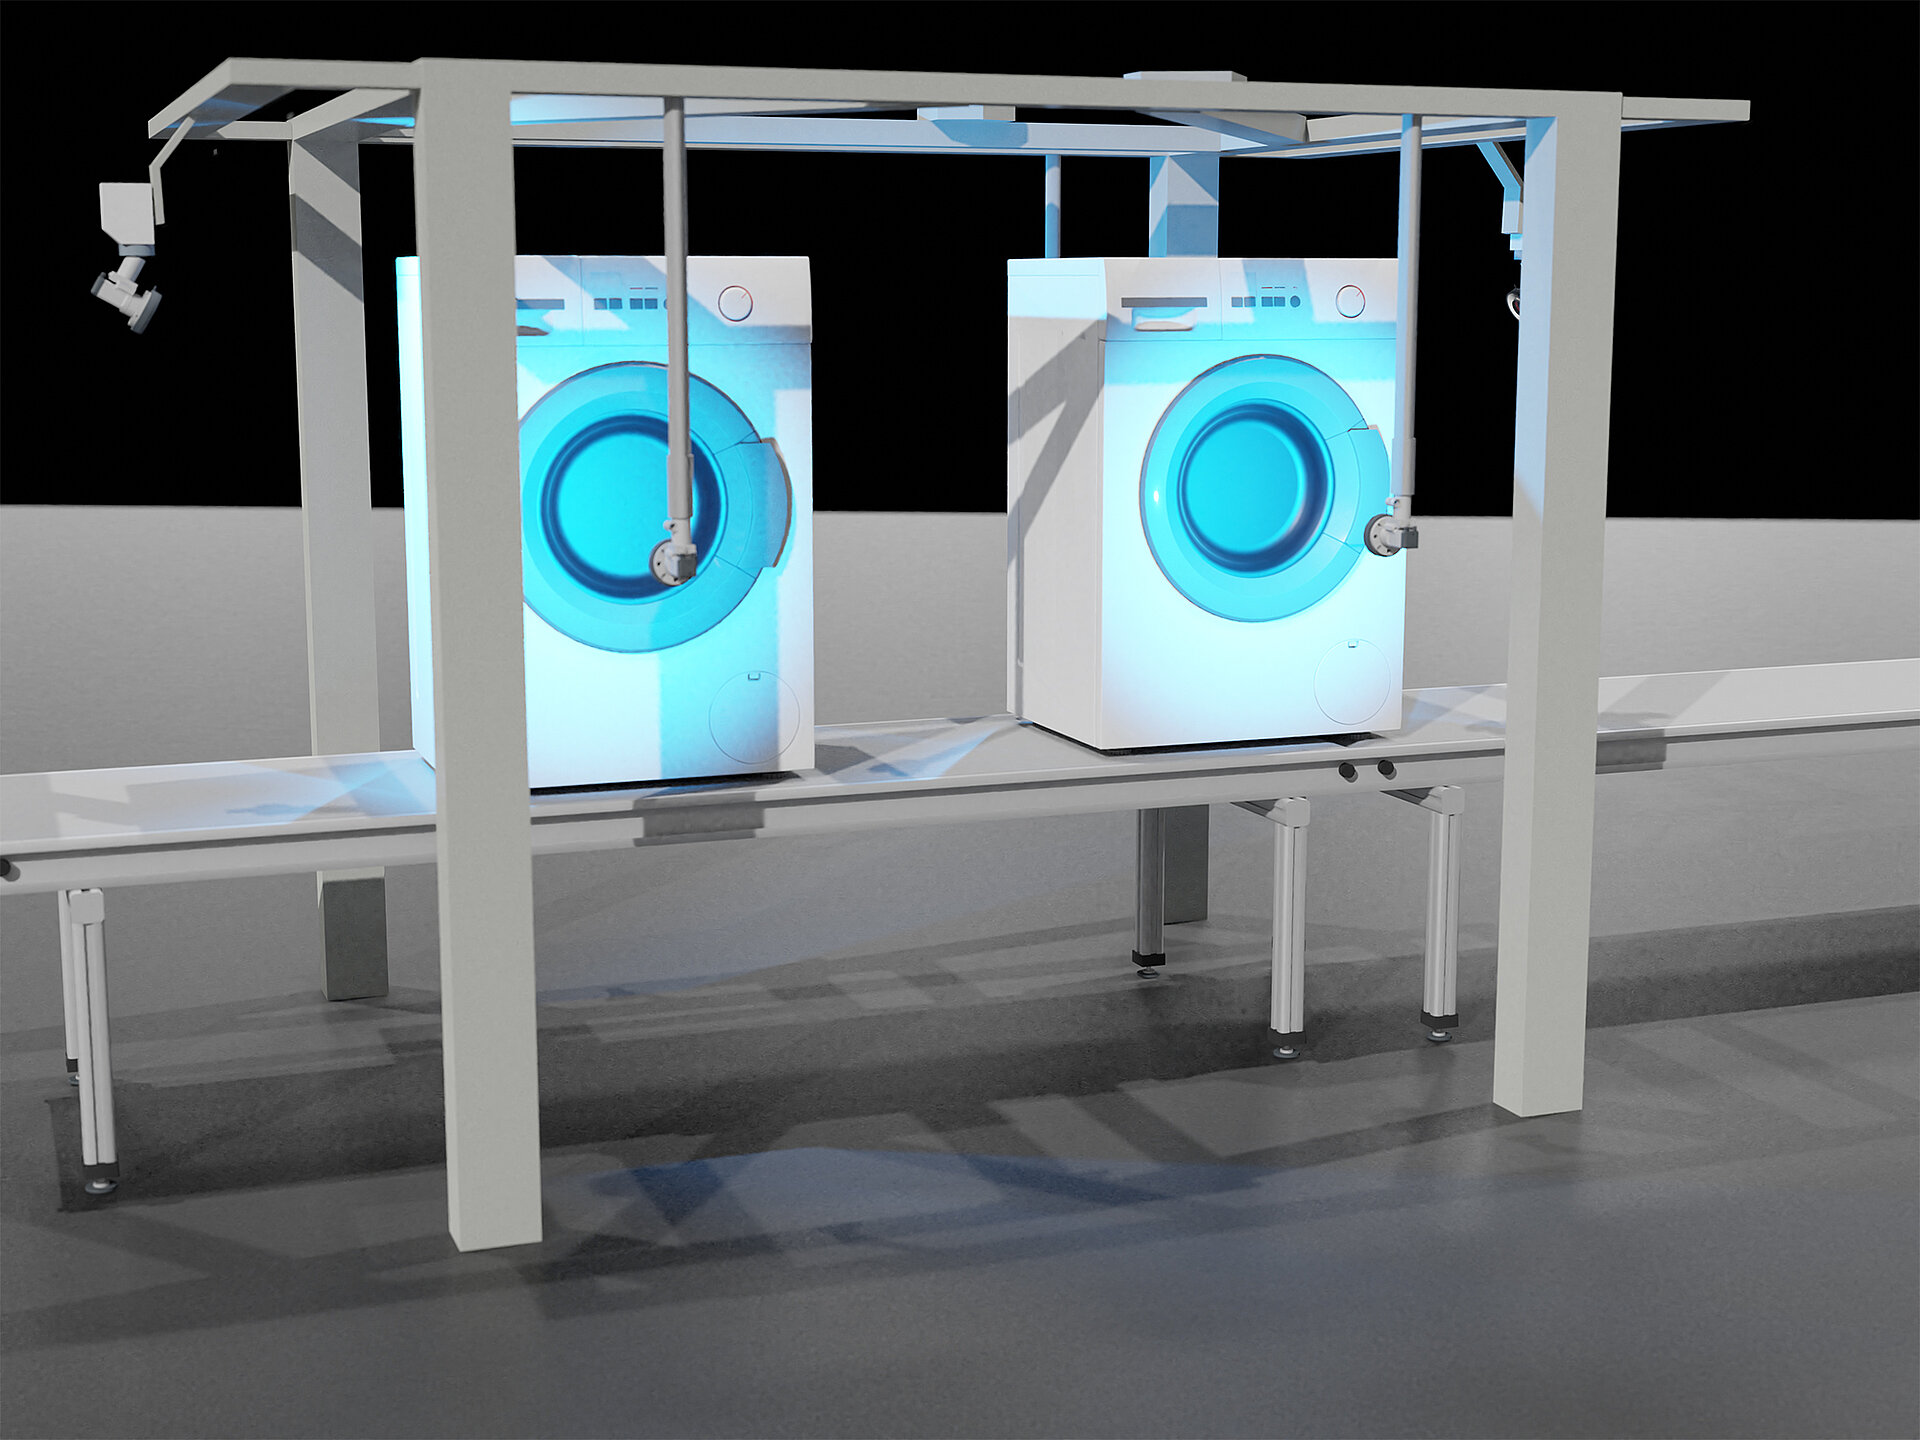
- White goods
- Consumer goods
- Trucks, trains and airplanes
We live service
Let’s talk about partnership
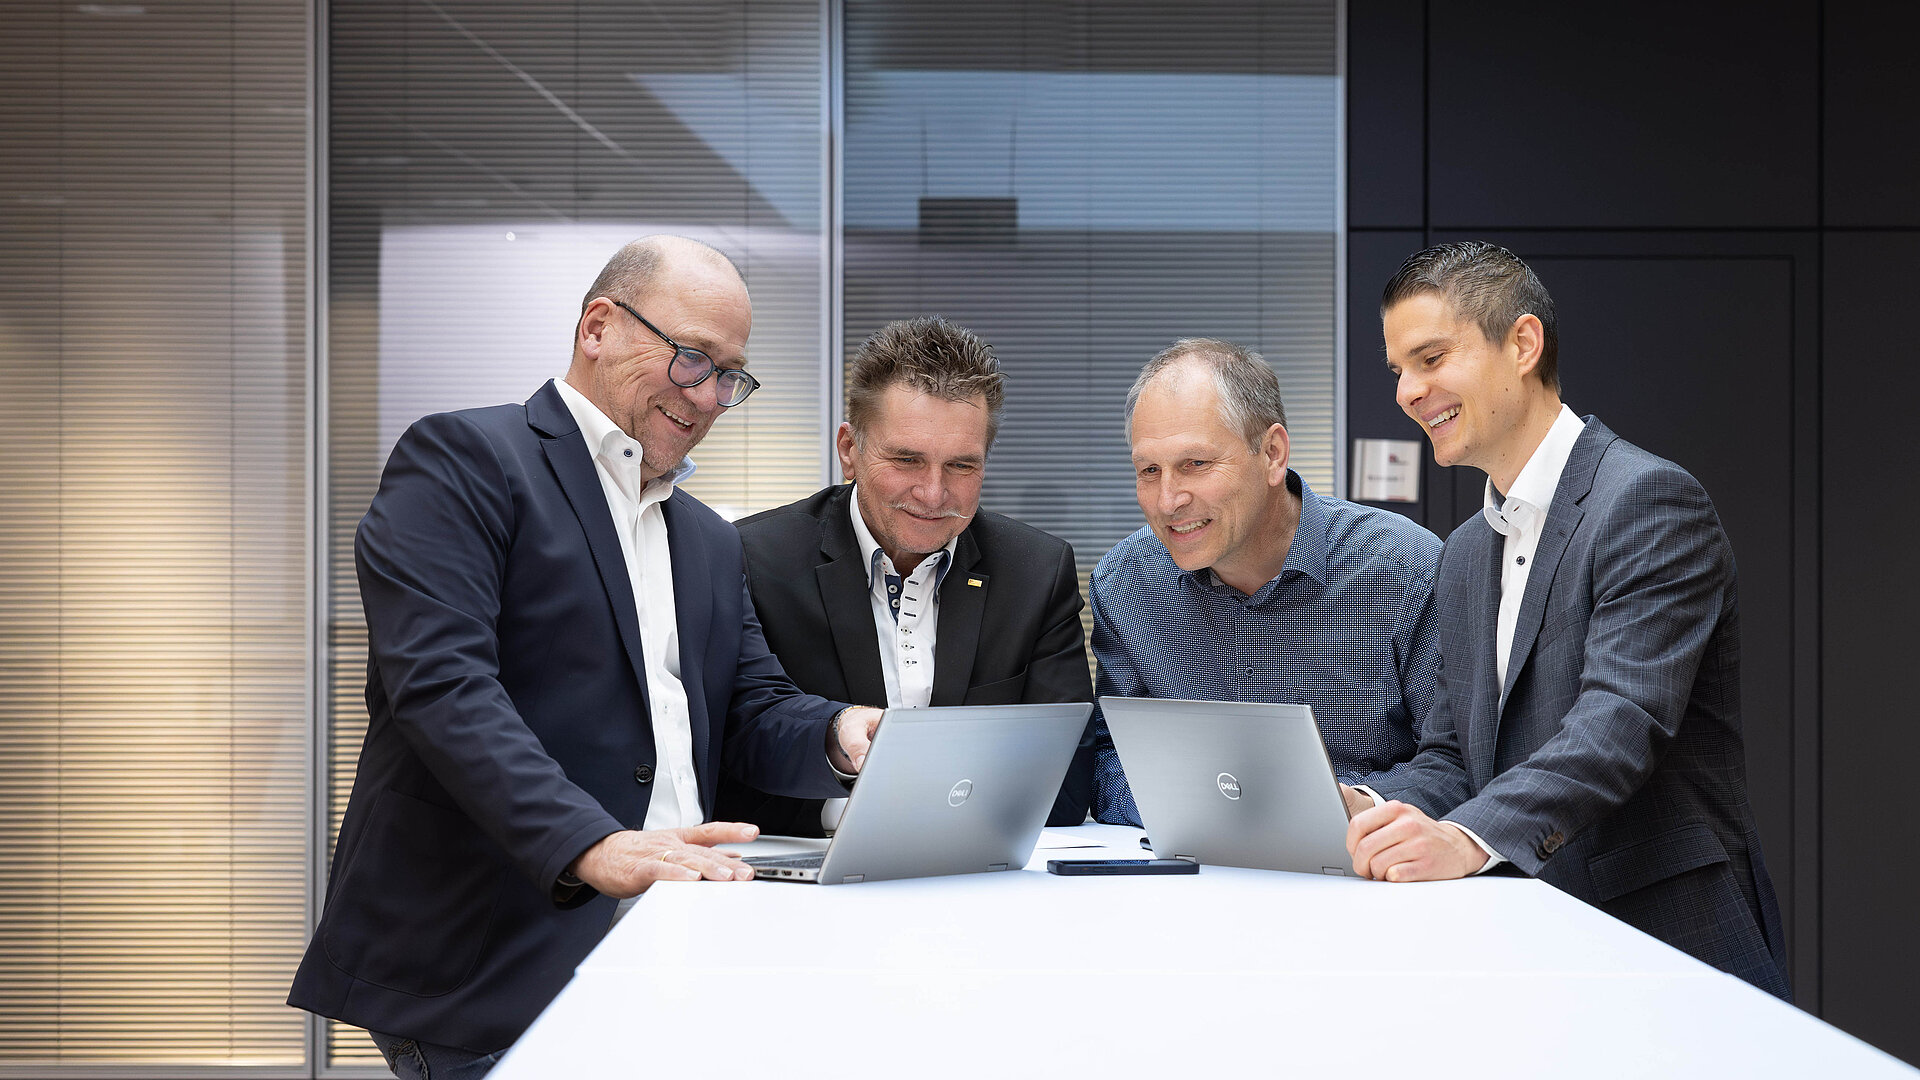
Keeping your solution highly available in production – that’s what we work passionately to achieve, on track with research and practice. It is important to us that your gap and flush measurement solution works reliably and that you can flexibly adapt your processes any time if your requirements change.
With inos, you enter into a trusting partnership with a reliable partner throughout the lifecycle of your solution. Our global network is ready. We think ahead for you, accompany you and offer service with added value and vision.
We support you with vision technology and software solutions
Give your processes vision
Your contact person: Thomas Klaiber
Do you want to enable quality and safety with gap and flush measurement and adapt your assembly to Industry 4.0? We’re happy to help you!

